

Red Velvet Cake Hearts
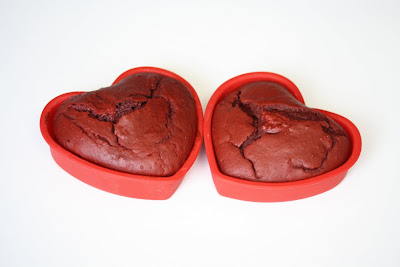
A while back, I bought these individual-sized heart shaped silicone cake pans by Chef Philippe. There were four pans in my set. I decided to use the pans to make some red velvet cakes. What I love about these heart-shaped pans is that I can make cute individual cakes, or I can turn two of them into a layered heart cake, for those who love the cream cheese frosting that often accompanies red velvet cakes.
I’ve never used these silicone-based pans before, I’m used to using metal ones. But I found these easy to use. The cakes didn’t stick and I didn’t need to spray them. I was able to easily pop them out.
I’m still trying to find my favorite red velvet recipe. This time I chose to use the Hummingbird Bakery one. I found the recipe on Joy the Baker. I was a little intimidated by the large amounts of red food coloring this recipe called for. 4 tablespoons!
I enjoyed the cake, but it was not my favorite red velvet recipe. The cake had a lot of cocoa, so it tasted more like a chocolate cake than a red velvet cake. It also was not as moist as some of the other red velvet recipes I’ve tried.
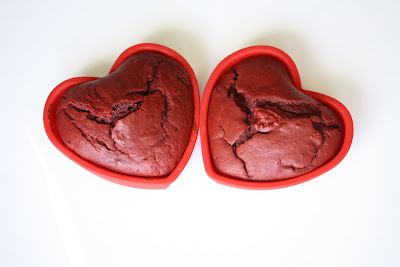
I was originally going to turn two of these into a layered cake with cream cheese frosting. But I really don’t enjoy frosting and I ran out of time, so I just served the cakes as is. Boyfriend liked it even without any frosting. The recipe had exactly enough to make four heart-shaped cakes.
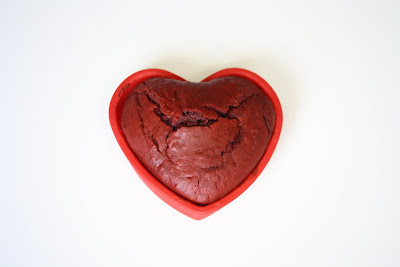
Red Velvet Cake
Ingredients
- 8 tbsp unsalted butter, at room temperature
- 1 1/2 cup sugar
- 2 eggs
- 5 tbsp unsweetened cocoa powder
- 4 tbsp red food coloring mixed with 2 Tablespoons water
- 1 tsp vanilla extract
- 1 cup buttermilk
- 2 1/4 cups all-purpose flour
- 1 tsp salt
- 1 tsp baking soda
- 3 tsp distilled white vinegar
Instructions
- Preheat oven to 350°F. Grease and flour two 9-inch round cake pans. (I used the heart silicone pans which did not need greasing). Set aside.
- In the bowl of a stand mixer fit with a paddle attachment, cream the butter and sugar until light and fluffy, about three minutes. Turn mixer to high and add the eggs. Scrape down the bowl and beat until well incorporated.
- In a separate bowl mix together cocoa, vanilla and red food coloring to make a thick paste. Add to the batter, mixing thoroughly until completely combined. You may need to stop the mixer to scrape the bottom of the bowl, making sure that all the batter gets color.
- Turn mixer to low and slowly add half of the buttermilk. Add half of the flour and salt and mix until combined. Scrape the bowl and repeat the process with the remaining milk and flour. Beat on high until smooth.
- Turn mixer to low and add baking soda and white vinegar. Turn to high and beat a few more minutes. Spoon batter into prepared cake pans and bake for 25-35 minutes or until a skewer inserted into the center cupcake comes out clean.
- Let rest in the pan for 20 minutes, then invert onto a cooling rack to cool completely before frosting.
I’m loving the mold too! I’m going to have to make some layered heart shape cakes with it!
These turned out great-they look so soft and moist, what a perfect cake! Those heart-shaped molds are just too adorable 🙂
Hi sugar plum. Unfortunately I have not yet found out how to make those gorgeous panda cookies! I’ve looked on the internet and in the stores for the mold. I found another bakery that had panda cookies, but they weren’t nearly as cute. I’ll keep searching!
I’m glad you like the red velvet hearts!
Found ur site thru tastespotting and those absolutely adorable panda cookies….mus say ….i am so in love with ’em sweetie…..
Jus as am with ur fab blog…..
Hey did u figure out how to make ’em?
I guess one reader who said about a roll and then slicing ’em makes fabulous sense ….would so so love to make these and am adding ya to my reader too…how can i not?
Love ur red velvet heats so much too….
Que Magnifigue este…bravo!!!!
Oh yeah….LOVE IS IN THE AIR….SO IS ROMANCE N WISHING YA ALL LOADS N LOADS OF IT @ 365